Look Deep into Your Surroundings
By Carmel Dor
Take a break from your daily flow to look around your home. You might be surprised to find sublime opportunities for capturing scenes of everyday beauty in plain sight. What pleasing arrangements and patterns can you spot? Perhaps there’s a fabric you are drawn to, or light coming in through a window. Even the wood grain or a handful of buttons can create interesting shapes and textures.
With your subject in mind, we’re going to use an artistic technique called the “grid method” to gaze even further into our surroundings. Through this process we will focus on an area of an image to draw, going through the composition inch by inch.
In this week’s activity, we are zooming in and taking a deeper look around us for inspiration.
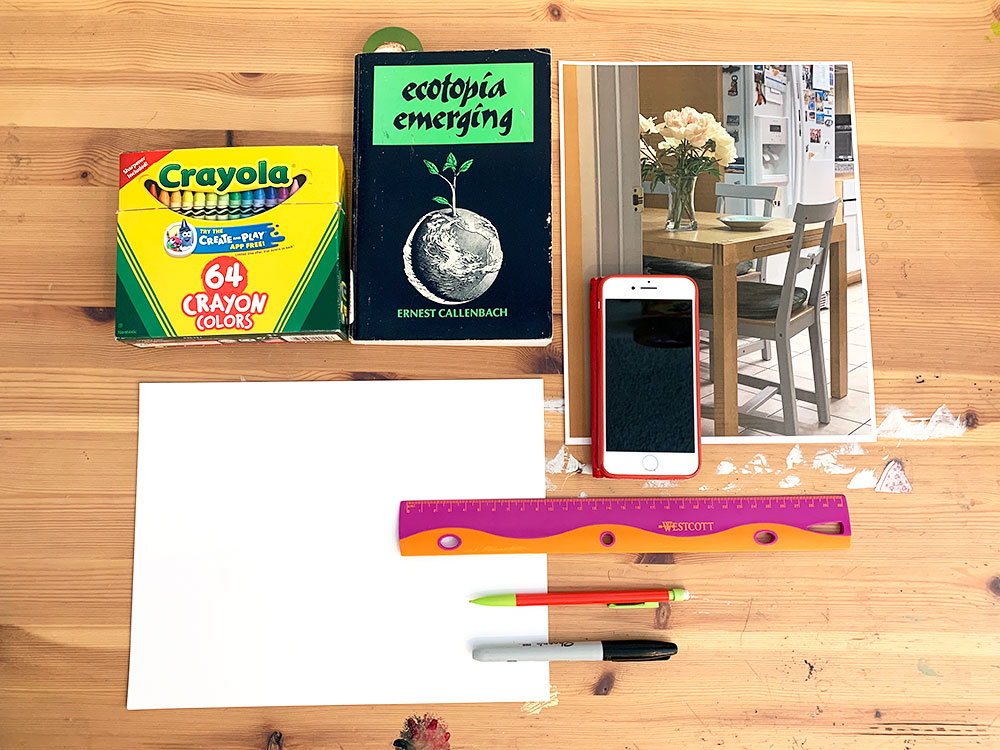
Things you will need
- Letter-size paper
- Pencil
- Black marker
- Ruler
- Camera
- Printer
- Coloring supplies
- A book or box (optional to help with right angles)
Make it!
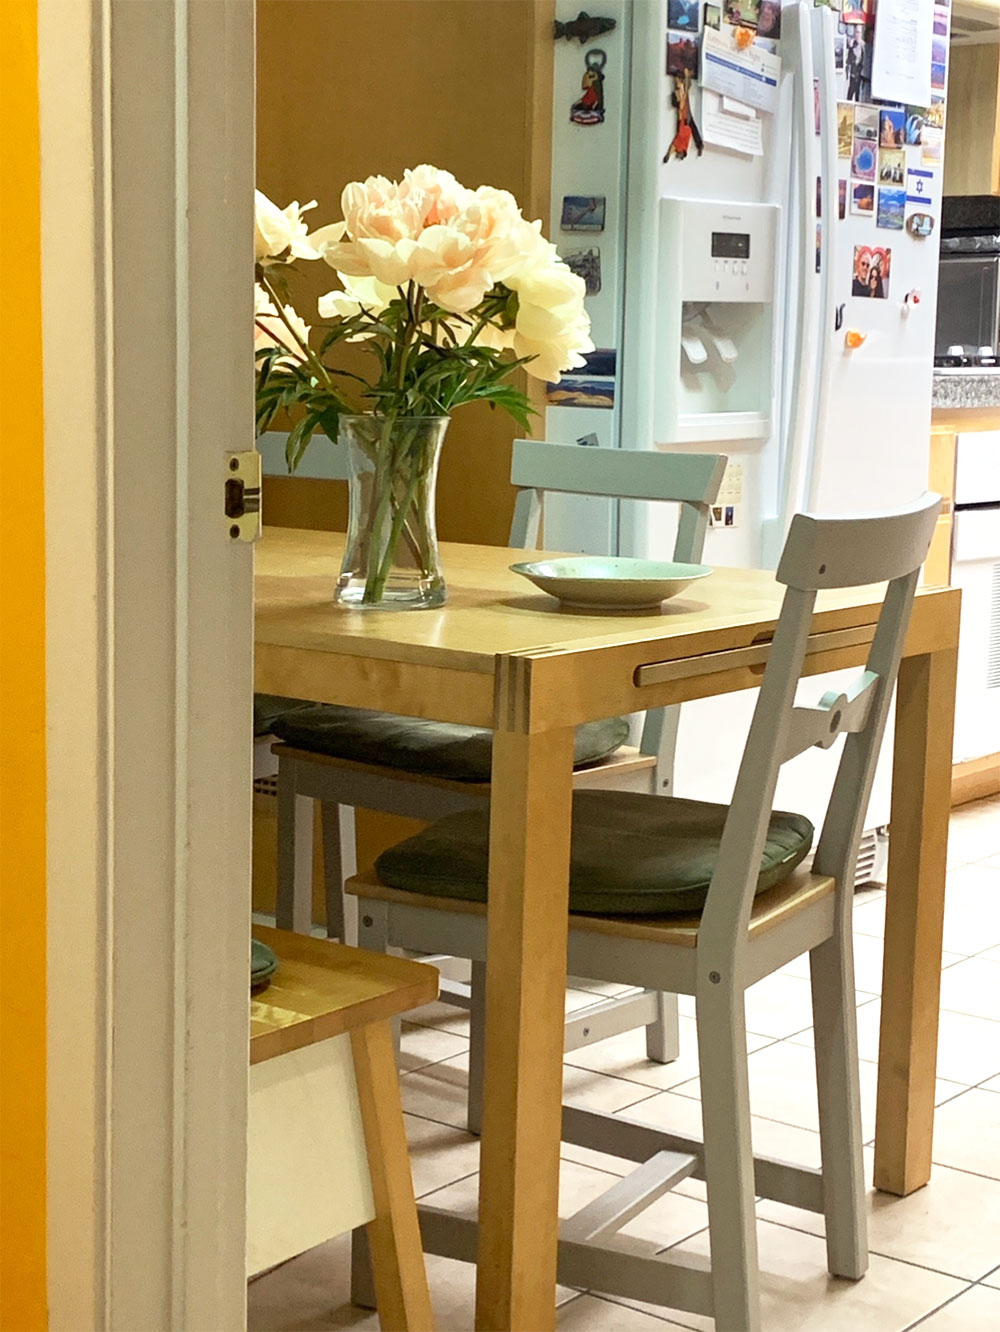
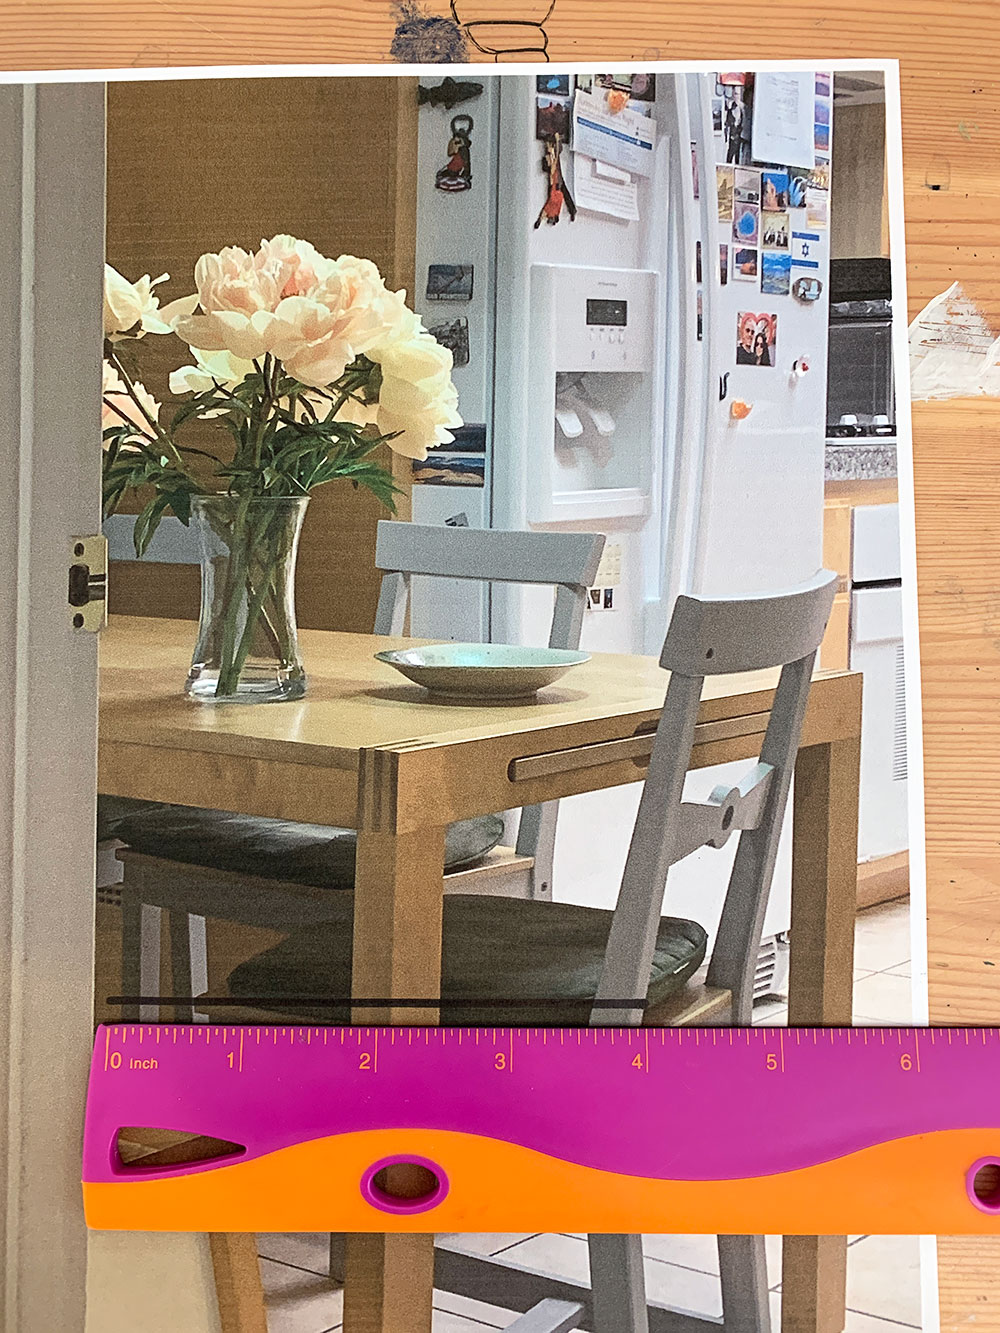
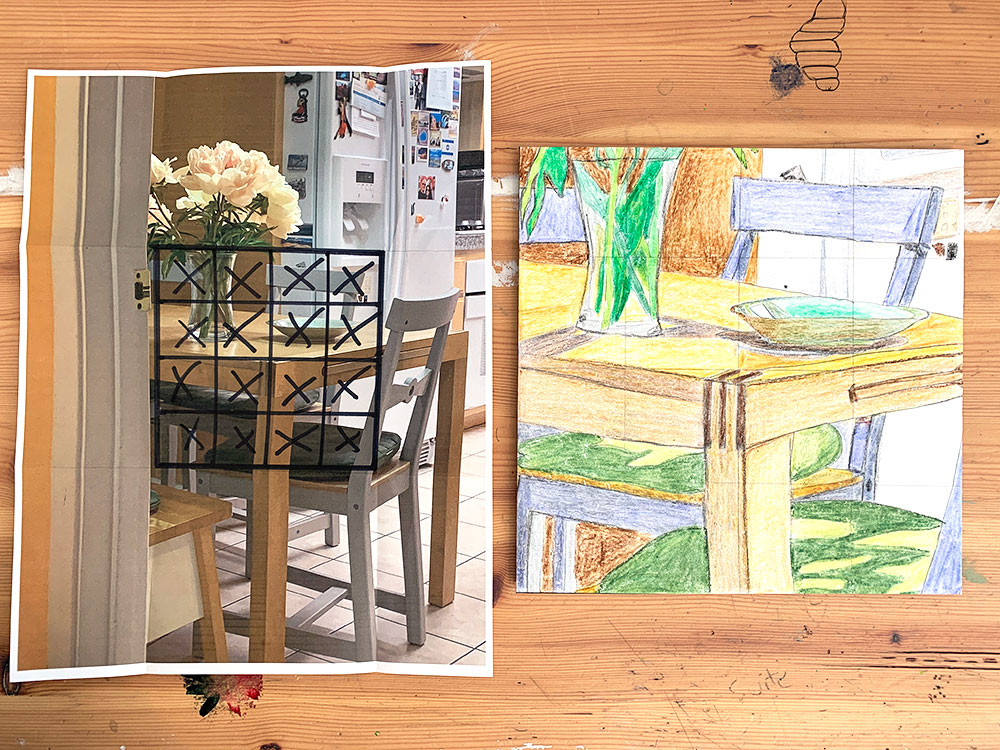
1. The first step is to take some time to wander around your home looking for your subject. Anything is fair game! You could choose a scene like your kitchen table or a pattern from an interesting rug. Snap a picture of your subject and print it out full size on a letter-size sheet of paper.
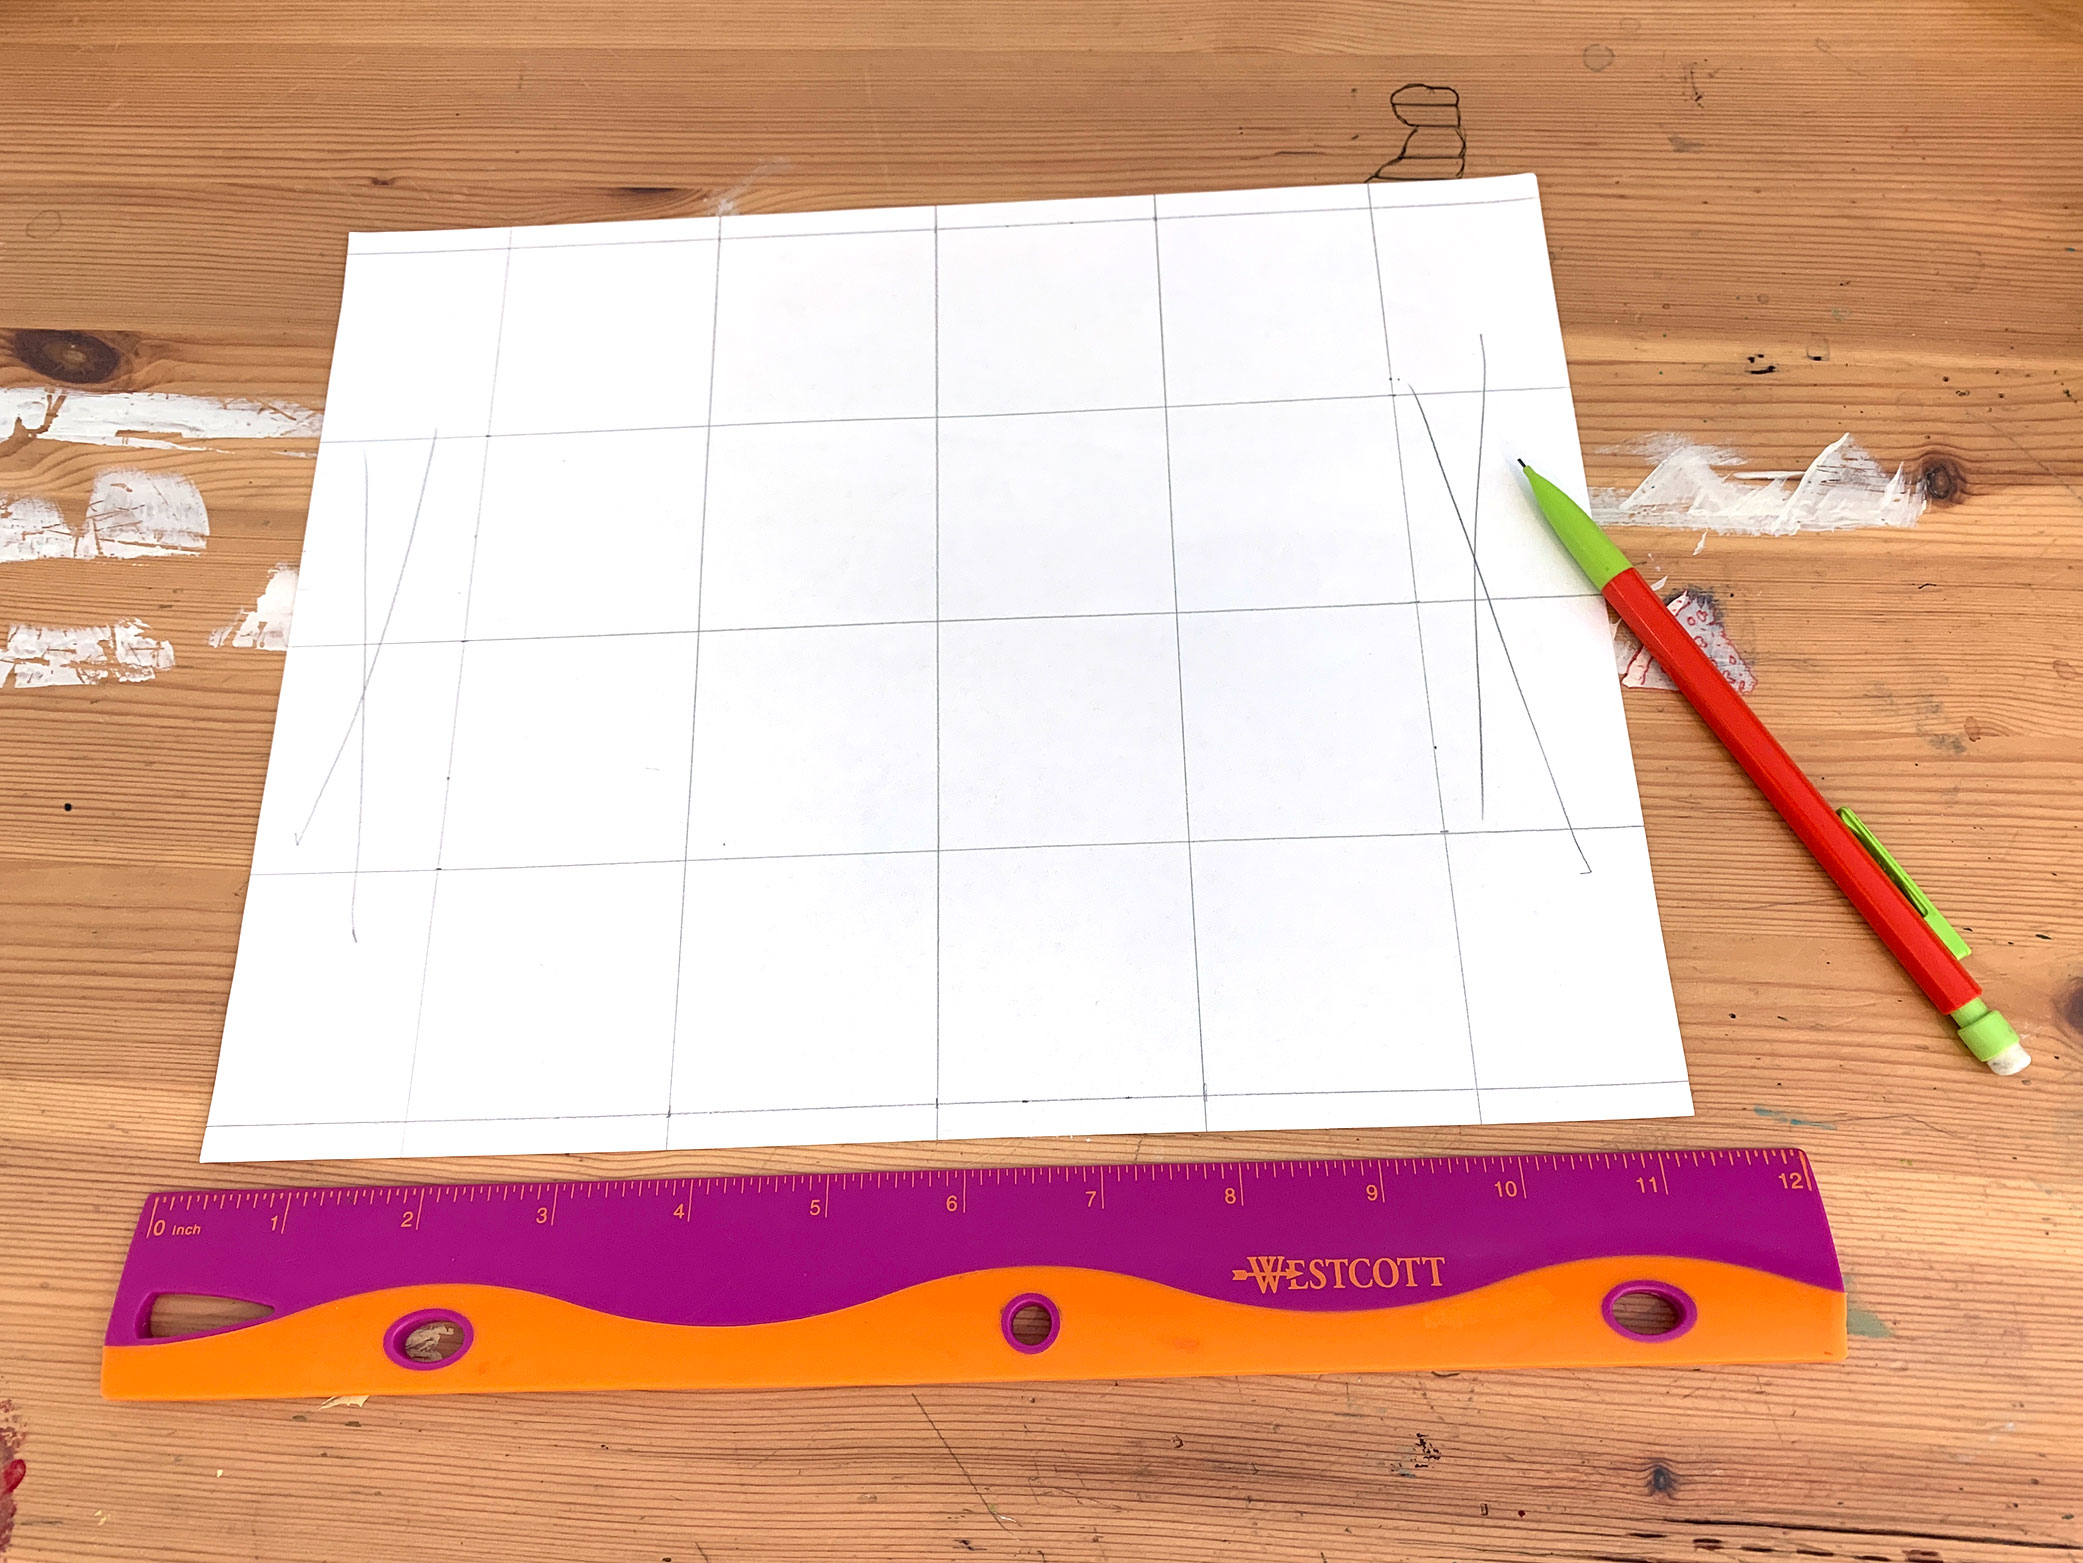
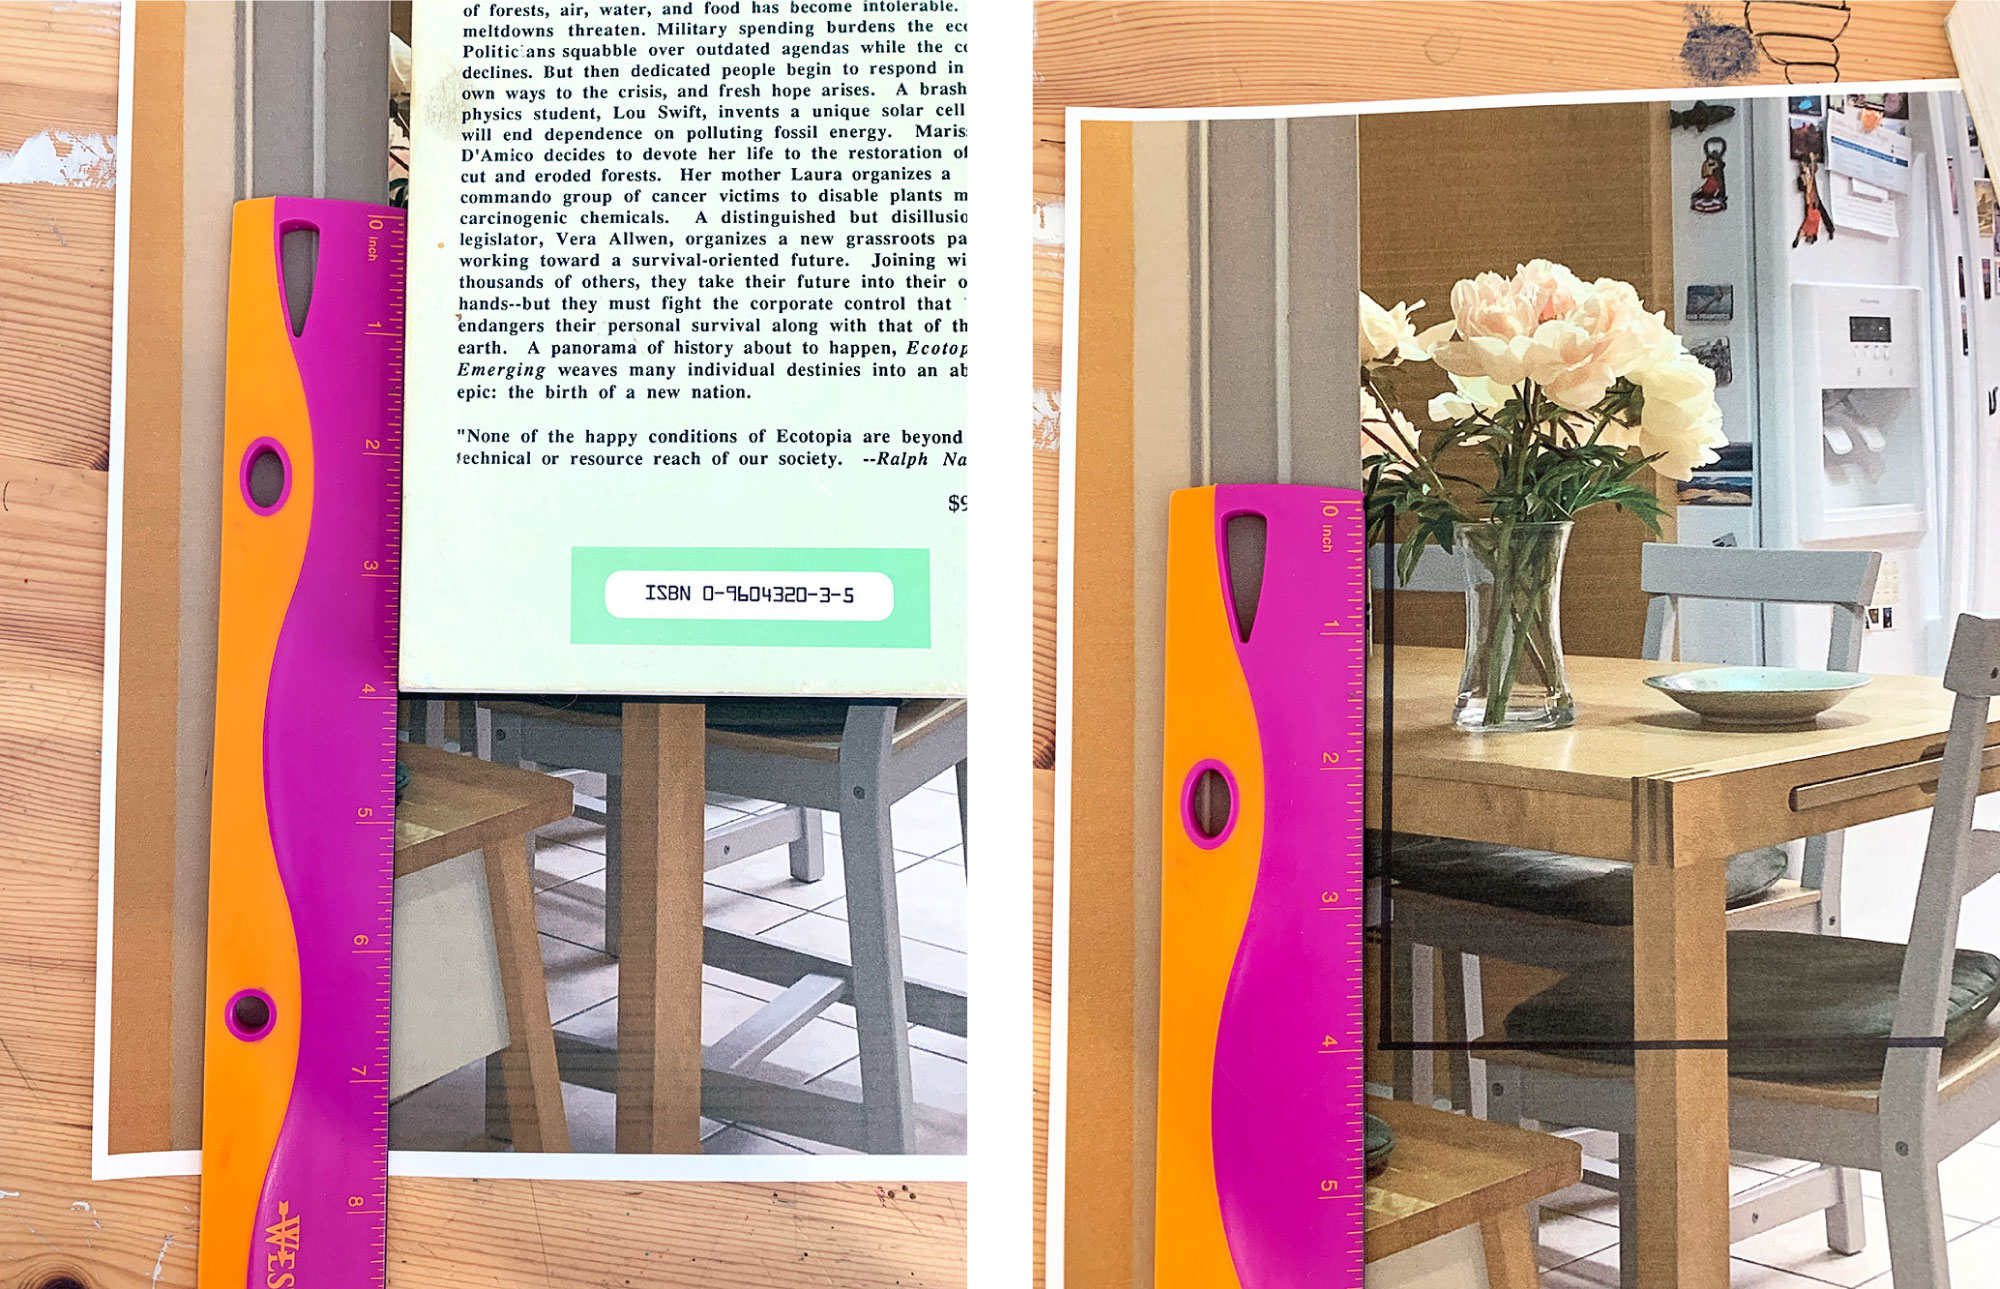
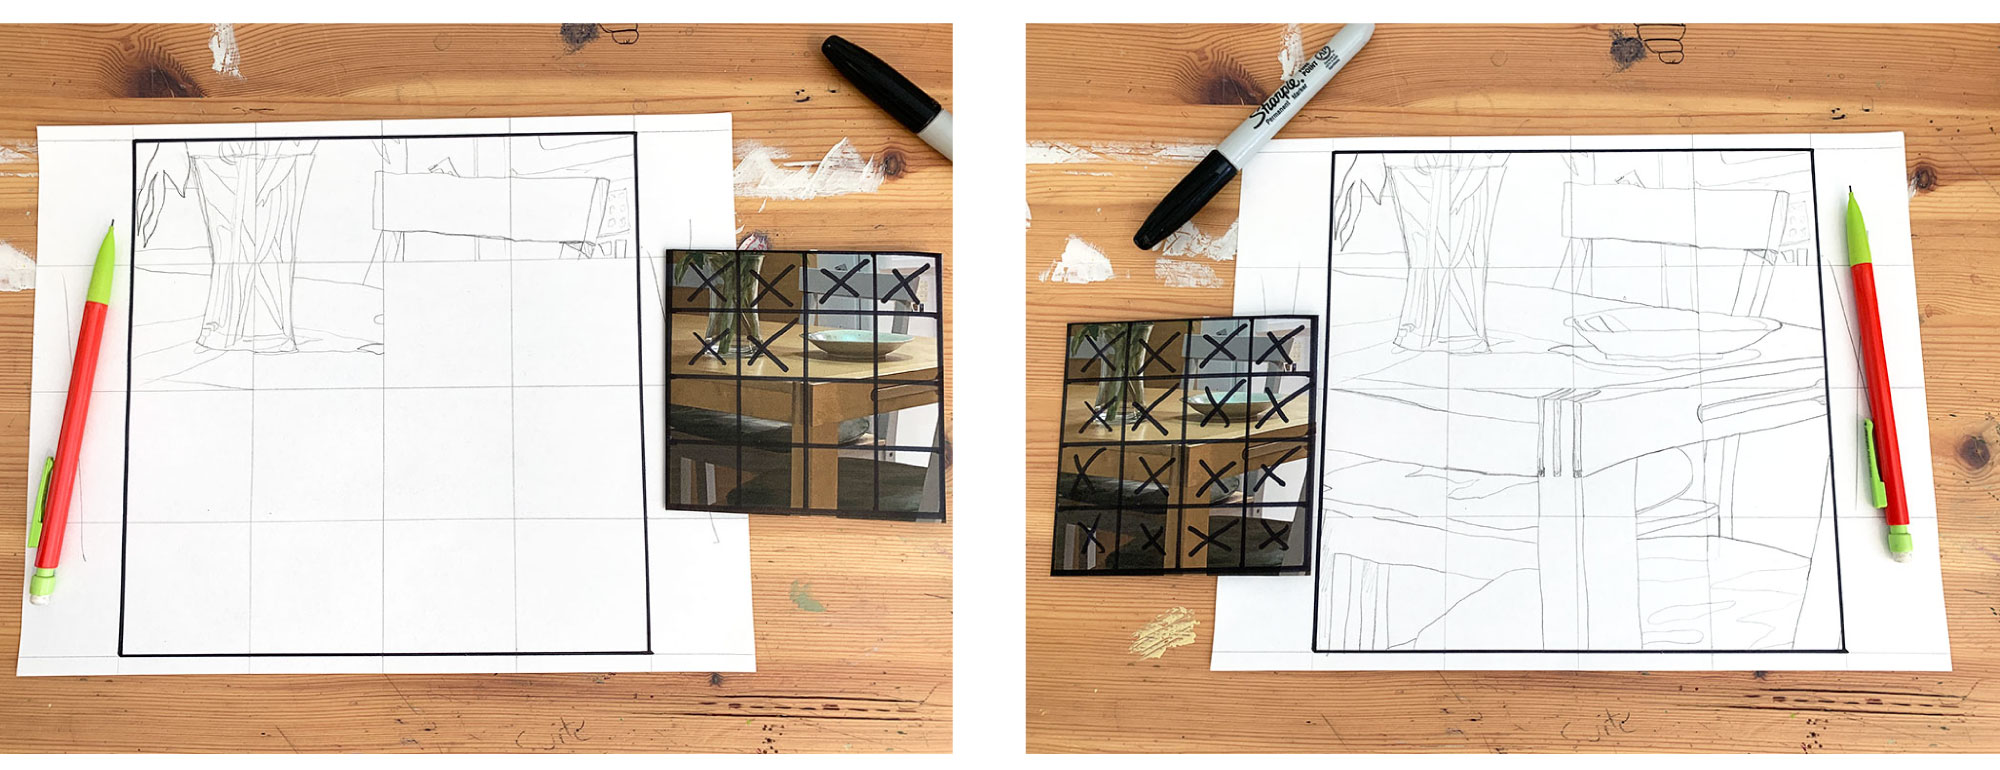
2. Now that you know what you’re working from, it’s time to set up your grids! Starting with your pencil and blank paper, let’s make an 8-inch square. You can place it anywhere on your paper; just make sure your corners are right angles (90 degrees). A quick way to make sure your square will come out well is by measuring from the sides of the paper and checking that the sides of your square are equidistant from the paper’s edge.
Once you have your 8-inch square, draw vertical and horizontal lines every 2 inches. This means you will have a 4x4 grid that you're working with. I recommend drawing lightly with the pencil so it can easily be erased or covered later.
3. Now let’s create another grid but with our black marker and printed photograph. Instead of an 8-inch square, we are going to zoom in on one area of the photograph and draw a 4-inch square. You still want a 4x4 grid, so when you add your vertical and horizontal lines make sure they are 1 inch apart instead of 2 inches. This difference is what will help you achieve your zoomed effect.
Another great way to make sure your corners are right angles is by using a book or box to help “square” your angles.
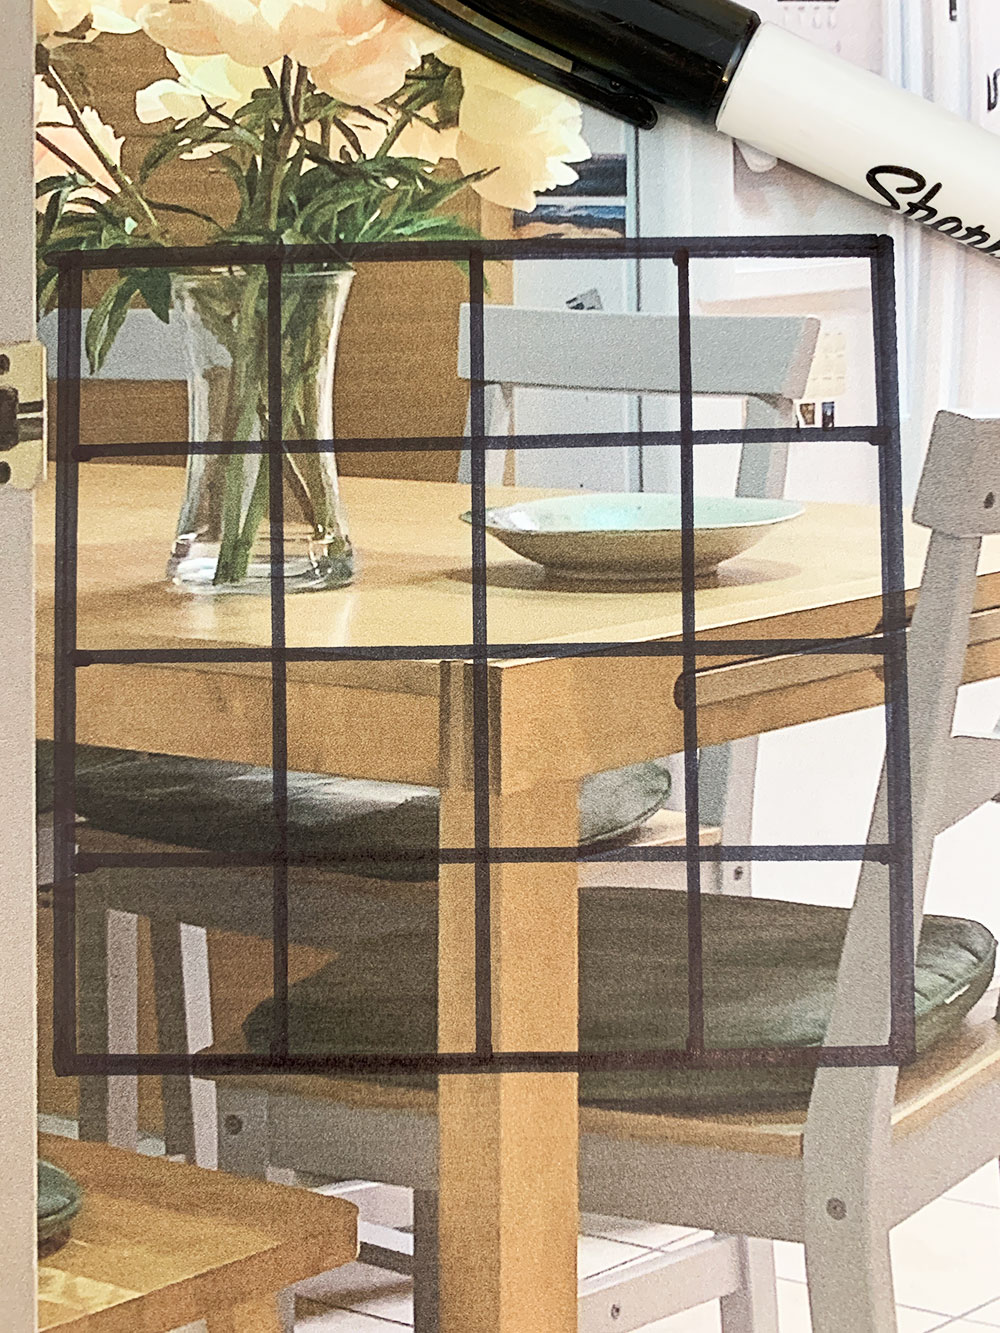
4. With your grids marked out, you are ready to begin! To help visually dive into the scene, fold over the printed image so that you are just left with the grid area. Now we are going to move inch by inch and copy over lines from each grid box onto our blank paper. You might be tempted to draw your whole image, but take your time! Savor the detail and focus only on your individual grid box. The image will build slowly over time.
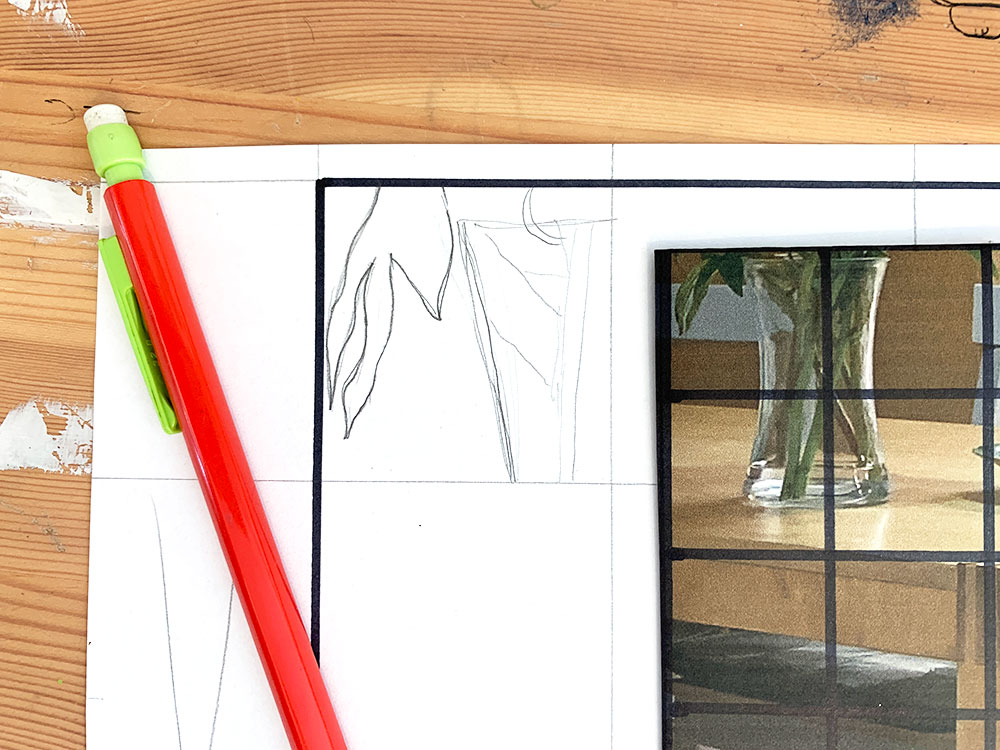
5. Cross out the grid boxes on your photograph as you go to keep track of where you are.
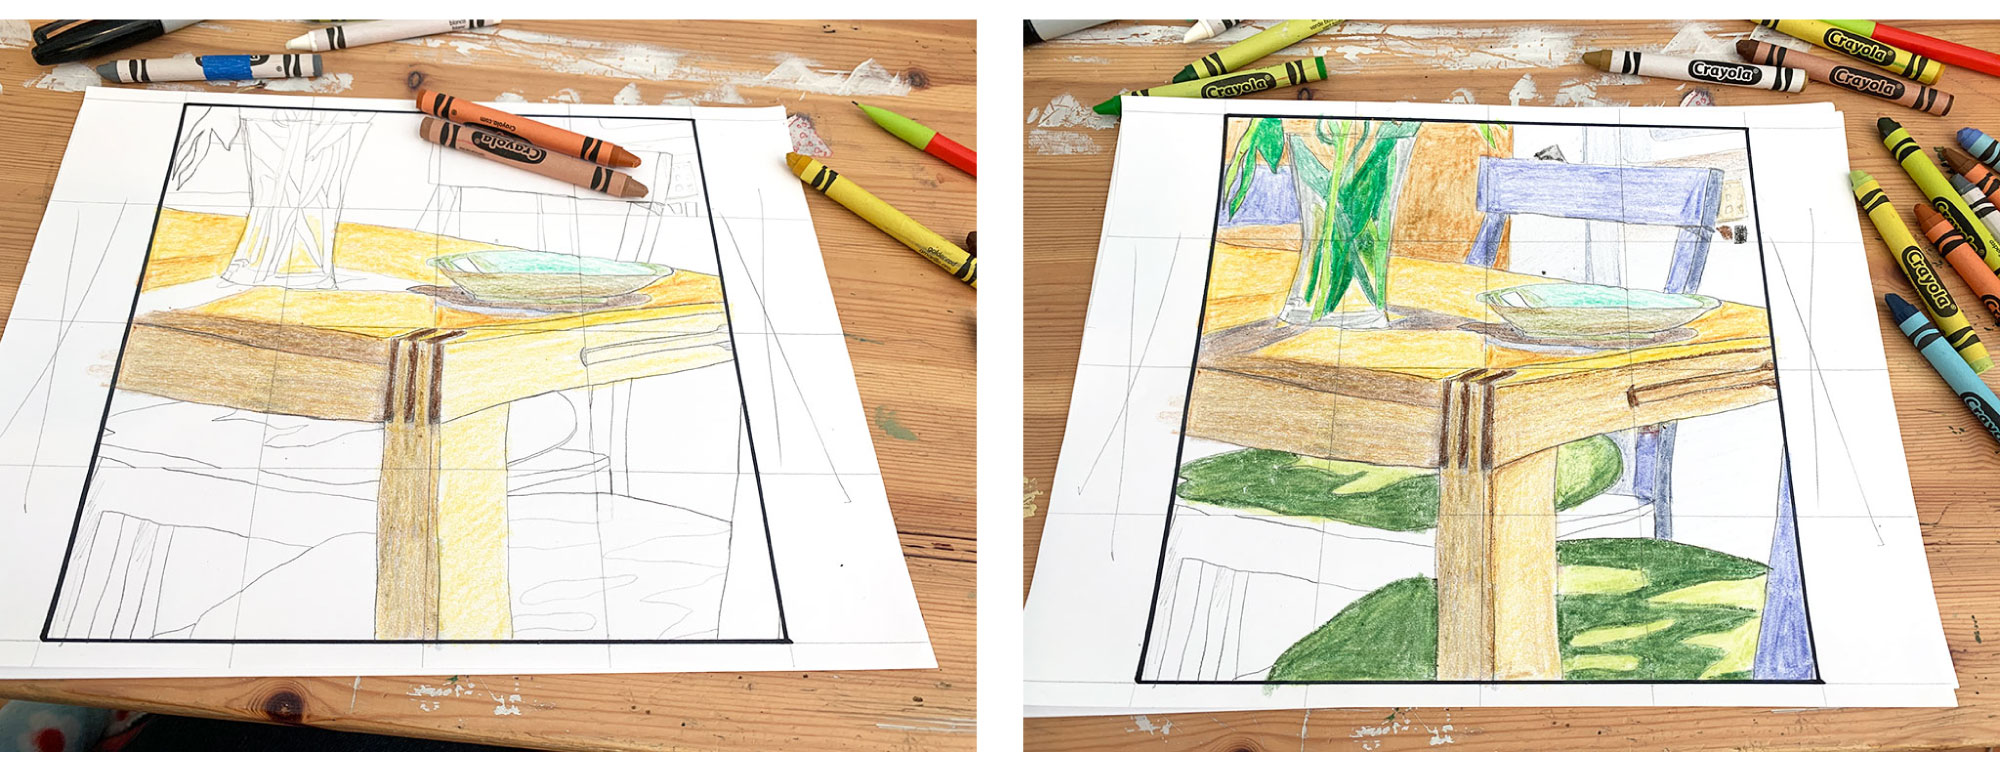
6. Looks great — we’re ready to add some color! Now that we have our entire image, you don’t have to color box by box. You can go ahead and start coloring in entire areas of your drawing.
Questions to experiment with
- What happens visually when you color in each square differently?
- When you zoomed into your image, did your subject become abstract or was it still recognizable?
- Could you dive even deeper by repeating this process with your new drawing? What image would that produce?